- Can fulfill Step 2 of GSUSA Daisy Craft and Tinker badge requirements.
- Can fulfill Steps 2, 3, and 4 of GSUSA Brownie Craft and Tinker badge requirements.
- Can fulfill Steps 2, 3, and 4 of GSUSA Junior Craft and Tinker badge requirements.
Printmaking is a creative process of transferring an image or design onto a surface, typically paper or fabric, using a printing plate or material like foam, wood, or metal. Artists create prints by applying ink or paint to the plate, which carries the design, and then pressing it onto the chosen surface to produce multiple copies of the image.
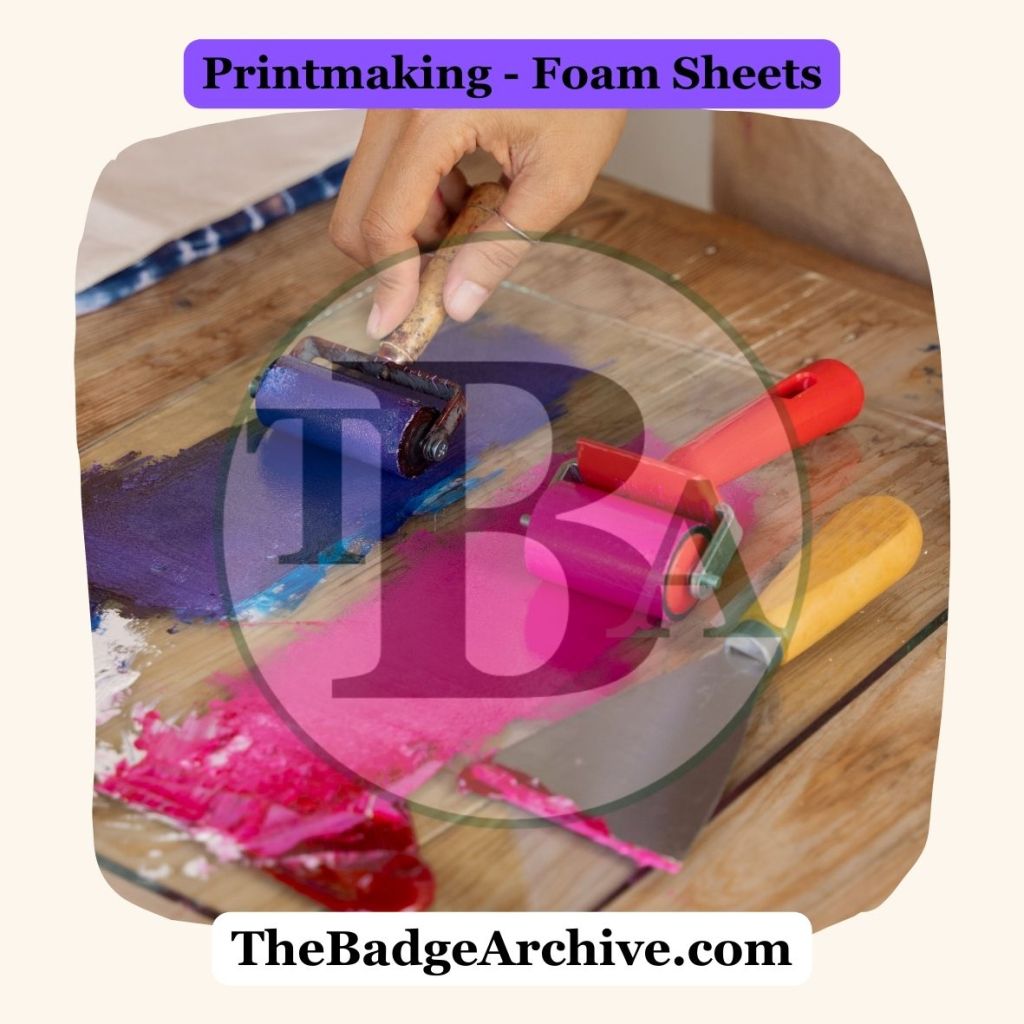
One of the easiest ways for kids to learn printmaking is using Foam Sheets.
Items Needed:
- Foam sheets (craft foam or scratch foam)
- Pencil or ballpoint pen
- Brayer (small roller)
- Printing ink or acrylic paint
- Smooth surface for rolling ink (e.g., tile or tray)
- Paper for printing
- Newspaper (to keep the area clean)
Instructions:
- Draw Your Design: Use a pencil or pen to press into the foam sheet and create your design. Avoid pressing too hard to prevent tearing the foam.
- Prepare the Ink: Place a small amount of ink or paint on a smooth surface and roll it out evenly with the brayer.
- Ink the Foam: Roll the ink onto the foam sheet, ensuring the raised areas are covered.
- Make the Print: Place the inked foam sheet face-down on a piece of paper or place the paper on top of the foam. Press evenly with your hands or a flat object to transfer the design.
- Reveal Your Print: Carefully peel the paper off to see your print.
- Repeat: Reapply ink and make more prints as desired.
Step-by-Step Tutorials:
- Easy Printmaking by Artful Parent
- Foam Printmaking by Art is Basic
- PEEP Printmaking by Our Daily Craft
- Styrofoam Printmaking by Art Bar Blog
–